How To Adjust Sliding Doors That Have Dropped?
Sliding patio doors are a wonderful addition to any home, offering a seamless transition between indoor and outdoor spaces while allowing natural light to flood in. But over time, these doors can sometimes drop out of alignment.
If you've noticed that your doors are no longer operating smoothly along their track or are leaving gaps when closed, it's time to learn how to adjust sliding patio doors.

What’s the problem with my sliding patio doors and why are they dropping?
Before delving into the adjustment process, it's crucial to understand why sliding patio doors might drop in the first place.
These doors consist of two main components: the door panels and the sliding track, compared to a french door which works on a hinge. When the door panels are not properly supported or when the track becomes misaligned, the doors can drop, causing a host of issues.
Here are some common reasons why this happens.
Settlement of the house
Over time, houses can settle, leading to shifts in the door frame. When a house settles, this means that different parts of the house shift due to environmental changes. This movement can affect the alignment of your sliding patio doors, causing them to drop.
Loose or damaged rollers
The rollers on which the door panels glide can become loose, worn, or damaged, leading to an uneven distribution of weight and causing the doors to drop on one side.
Track misalignment
If the sliding track is not installed correctly or becomes misaligned due to wear and tear, it can cause the doors to drop and not slide smoothly.
If you’ve identified why your sliding patio doors have dropped, you may be wondering how to adjust sliding patio doors yourself.
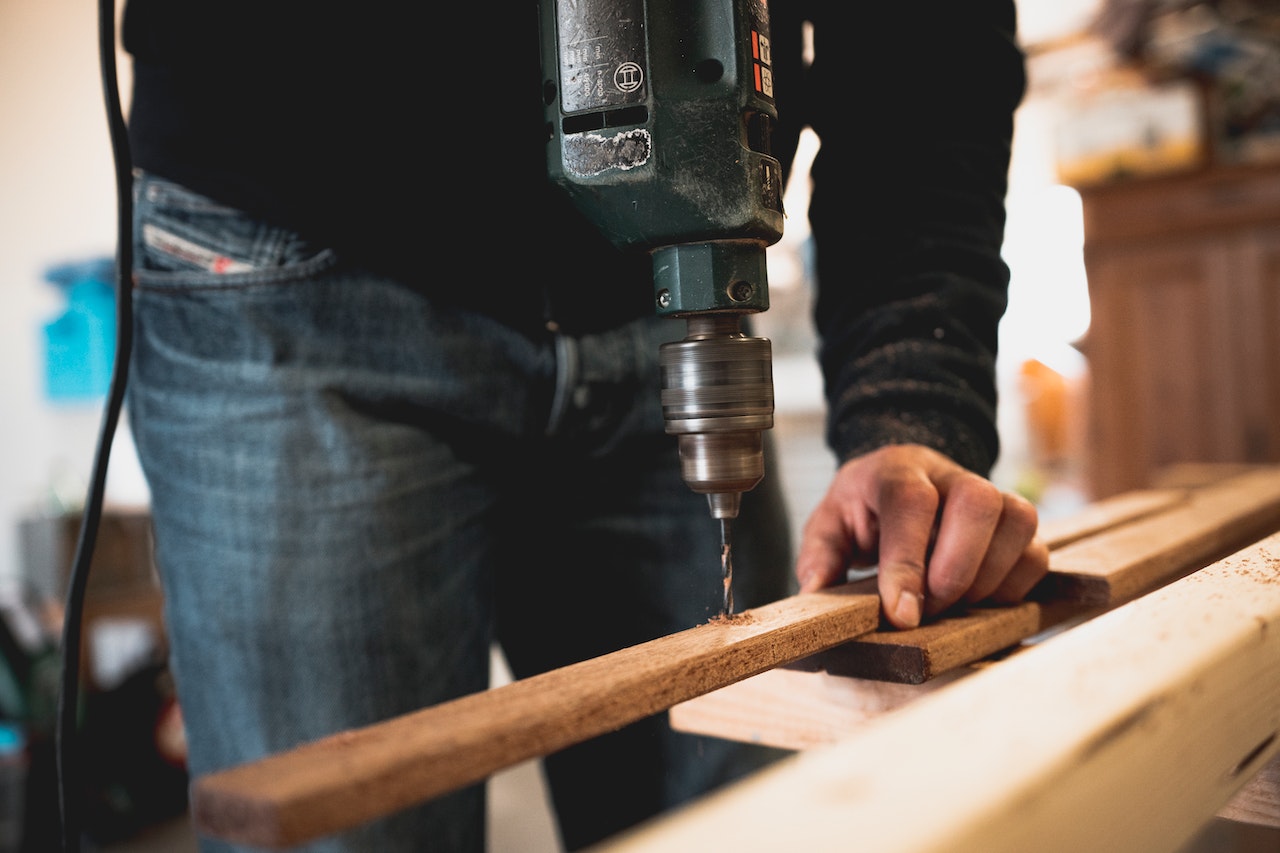
Tools and materials you'll need
Remember, be smart about DIY tasks. If you think sliding door adjustments are a little out of scope for you, it’s always best to consult a door repair professional.
Before you begin adjusting your sliding patio doors, gather the following tools and materials.
Screwdriver
Adjustable wrench
Pliers
Level
Wooden shims
Lubricant spray
Safety glasses
The above items are common household tools, but if you do find you’re missing something, you’ll find them in every home improvement store.
Examine your sliding patio doors
Before you begin adjusting your doors, it’s essential to assess the damage first. You want to make sure that the repair is feasible, and that it’s safe to do so.
Step 1: Safety first
Always start by ensuring your safety. Put on your safety glasses to protect your eyes from any debris that may be dislodged during the adjustment process.
Step 2: Check the rollers
Begin by inspecting the rollers on the bottom of the door panels. These rollers are responsible for smooth sliding. If they are loose, damaged, or misaligned, they can cause the doors to drop.
Use your screwdriver and an adjustable wrench to tighten any loose screws or bolts on the rollers. If the rollers are damaged, replace them with new ones, which you can purchase from your local hardware or home improvement store.
Step 3: Examine the track
Next, assess the sliding track. Make sure it is clean and free from debris, as any obstructions can lead to misalignment. Clean the track thoroughly, removing any dirt or residue.
Lubricate the track with a suitable lubricant spray to ensure the door panels glide smoothly along it.
Step 4: Check for level
To adjust the sliding patio doors correctly, you'll need to ensure they are level. Use a level to determine if the doors are sitting evenly in the frame.
If you find that one side is lower than the other, you'll need to make adjustments using wooden shims.
Step 5: Adjust with wooden shims
To raise the door and make it level, follow these simple steps below to adjust your sliding patio door.
Open the sliding patio door halfway.
Lift the door slightly and have a helper slide wooden shims under the side of the door that needs to be raised. Start with one shim and gradually add more until the door is level.
Close the door and check its level again with the level tool.
If the door is still not level, repeat the process, adjusting the shims as needed until it is perfectly level.
Step 6: Test the operation
Once you have adjusted the door's level, test its operation. Open and close it several times to ensure it slides smoothly and aligns properly with the frame. Make any additional adjustments as necessary until the doors operate seamlessly.
A brief overview of how to install patio sliding doors
If your existing sliding patio doors are irreparable, or just too old, it’s advisable to invest in new ones. Installing sliding patio doors yourself is no easy feat, but with the right tools and advice, it’s not impossible.
At Flying Doors, we advise that you seek the help of a professional to install your new sliding patio doors. But if you feel up to the challenge, check out our easy-to-follow steps below.
1. Measure and prepare
Measure the door opening accurately to ensure you purchase the correct size doors. (All Flying Doors products come with special delivery via our own couriers, so you can get started in no time.)
Remove the existing doors, frames, and any obstructions.
Ensure the opening is square and level.
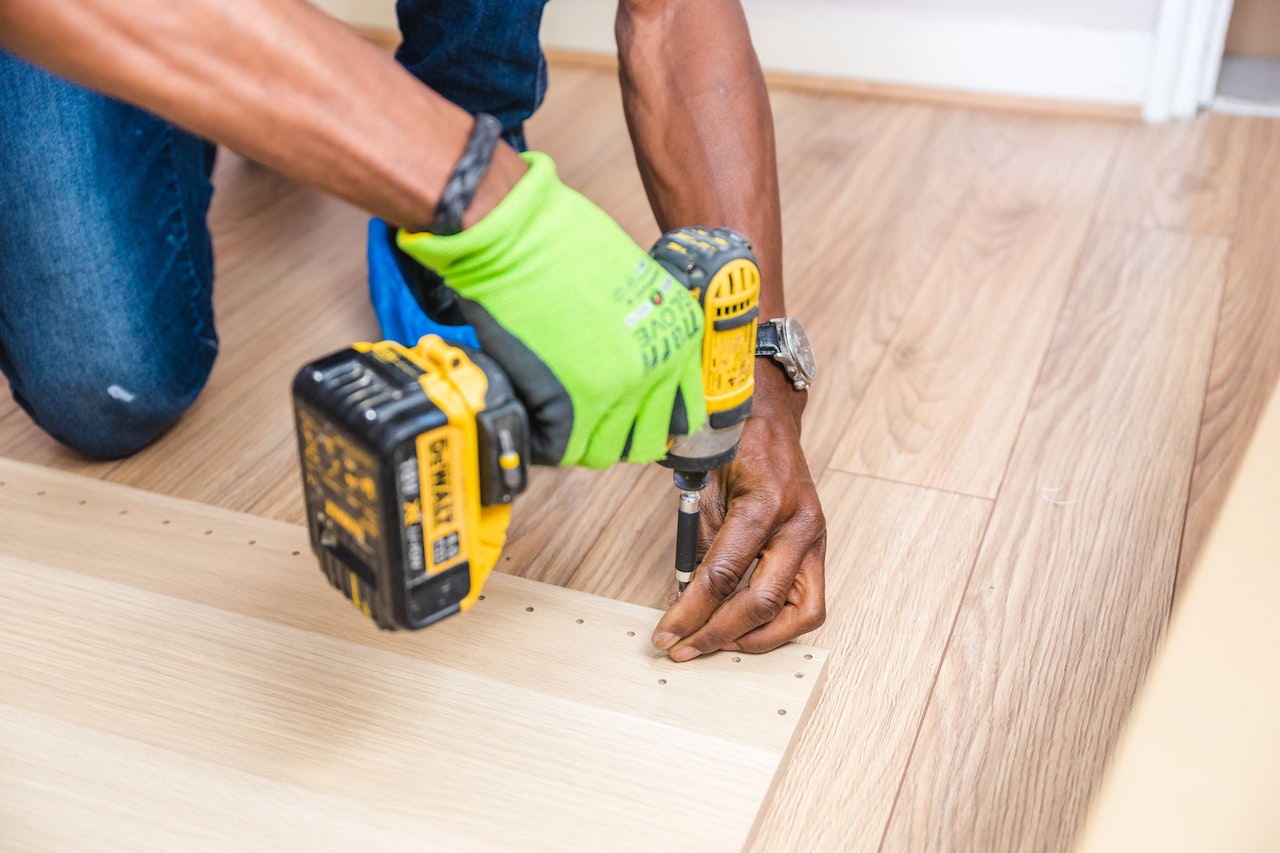
2. Install the frame
Follow the manufacturer's instructions for installing the door frame.
Use shims to ensure the frame is plumb (perfectly vertical), level, and square.
Secure the frame to the rough opening using screws or nails.
3. Attach the rollers
Attach the rollers to the bottom of the door panels as per the manufacturer's guidelines.
Ensure the rollers are properly aligned and securely fastened.
4. Hang the doors
Carefully lift and hang the door panels on the track.
Adjust the rollers to ensure a smooth glide.
Test the doors for proper operation.
5. Seal and insulate
Apply weatherstripping around the frame to prevent drafts and improve energy efficiency.
Insulate any gaps around the frame with expanding foam or insulation strips.
6. Final adjustments
Check for proper alignment and operation.
Make any necessary adjustments to ensure the doors slide smoothly and seal tightly.
Maintenance tips for long-lasting sliding patio doors
Once you've learned how to adjust sliding patio doors or successfully installed new ones, it's essential to perform regular maintenance to keep them in excellent condition.
Here are some maintenance tips to extend the life of your patio sliding doors.
Clean the racks
Regularly clean the sliding tracks to prevent debris buildup that can lead to misalignment.
Lubricate the rollers
Apply a silicone-based lubricant to the rollers to keep them running smoothly.
Check the weatherstripping
Inspect and replace weatherstripping as needed to maintain a proper seal and energy efficiency.
Tighten hardware
Periodically check and tighten screws, bolts, and other hardware to prevent loosening and potential issues.
Quality sliding patio doors with Flying Doors
By investing in reliable sliding patio doors, you can minimise the chances of them dropping, meaning you’re less likely to have to adjust them yourself.
With our ‘customise your own’ tool, you can create your own set of uPVC sliding patio doors to suit your exact needs. And with our 10-year guarantee, you can rest assured that if your doors do drop within that time frame, we’ll replace your existing ones at no extra cost.
Browse our range of uPVC sliding patio doors, or get in touch with us to elevate your home with new doors today.